Sunday, June 25, 2006

Finished my first term

Uffff!!!!....
At the end it got harder but it was fun anyway.
So, I finished Class 1 "Basic Foundation" and I have a few things to show you.
I was busy animating walks. It should be an easy thing since I have done it before right?!... How far from the truth. Now that I know the basic principles, being careful of applying them to the walk was not as straight forward as I thought it would be. Not only that, but this was my first time using the pose to pose method to do it. I still think layering is the best method of animating a walk but it was an awesome learning experience. I think now I understand a lot better how to work with that method. Also, using pose to pose forces you to plan better your animation and think of all the principles... For example, the overlap has to be in the poses already instead of applying them modifying the curves after the fact. You can of course still do that, but just to tweak it.
In short, pose to pose takes the control of the animation away from the computer, and that is a great thing, make you feel like you are really an animator.
Ok... Enough chit chat, let me show you the animations.
First, the progress reel of everything I did on class 1. I rendered all my animations and gave them a new look. Also some of the animations were refined for this version. This is what I have been doing for the past 3 months:


Because all the animation are on the progress reel I will not bother adding the last ones individually, but I will put this one since it shows the pose to pose process in two of its stages: Blocking and final.
blocking is when all your poses are assemble in the animation using hold keys (stepped in Maya) in such a fashion that is just like a 2D animation.
You can see both stages simultaneously on the movie. Look how many poses you can use when blocking (your mind can fill in the blanc completing the sense of motion). Doing that you take away the animation control from the computer. It is very important to do that because when you go from hold keys to spline the computer can make a mess if you are not careful:


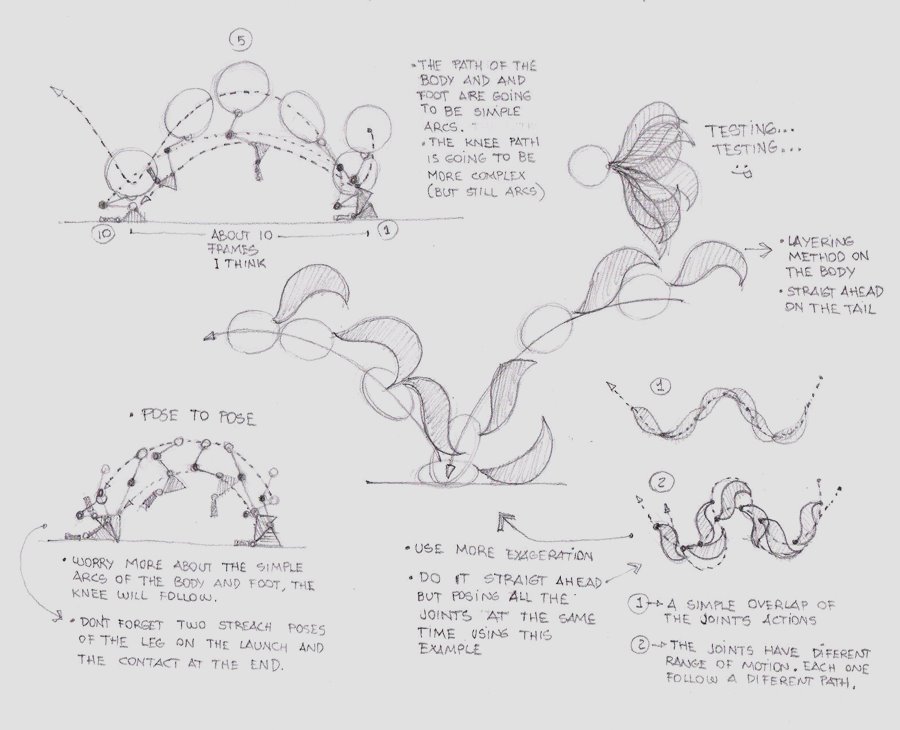
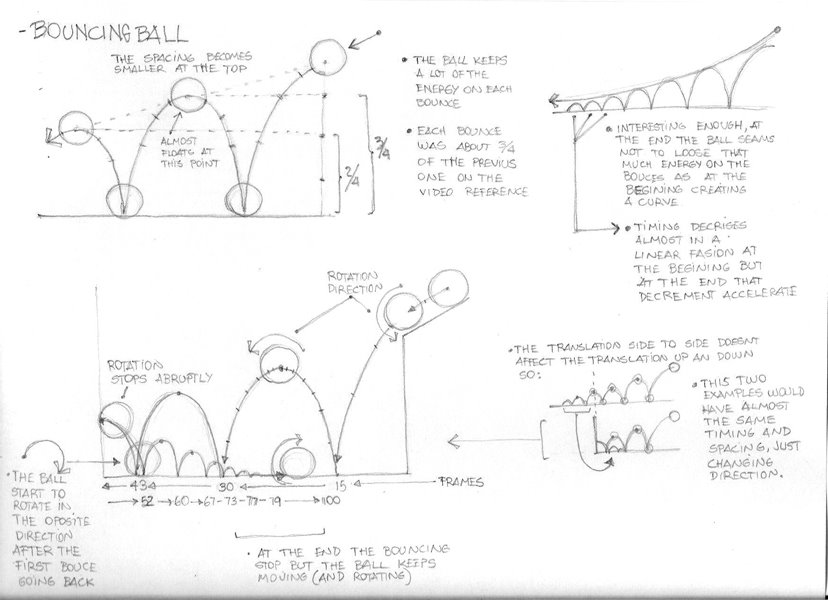
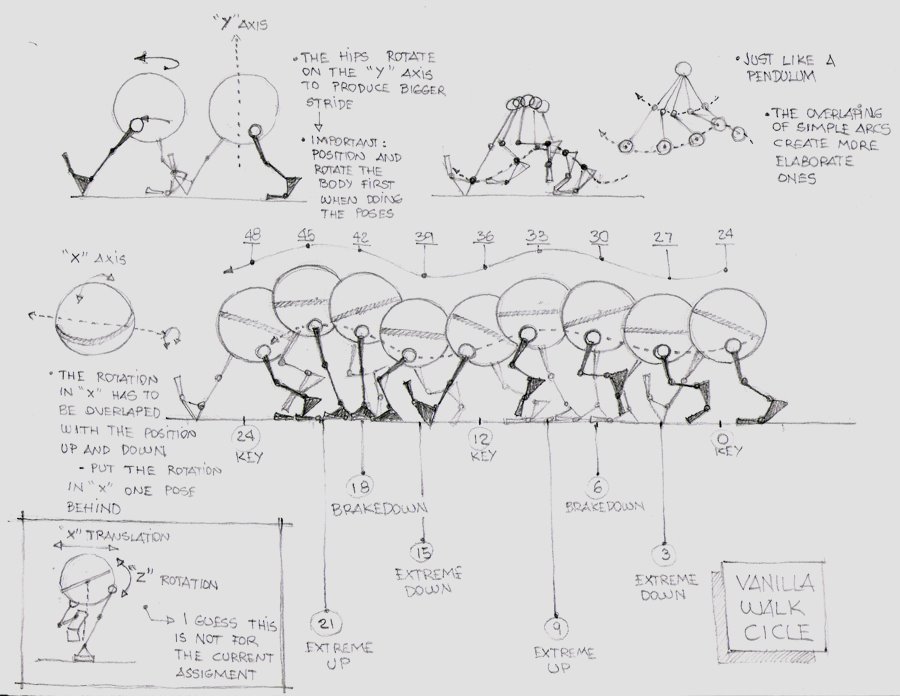
Here are the planning pages for the vanilla walk:


and the personality walk:


This last planning was more to analyze what needed to be done to make it work in perspective.
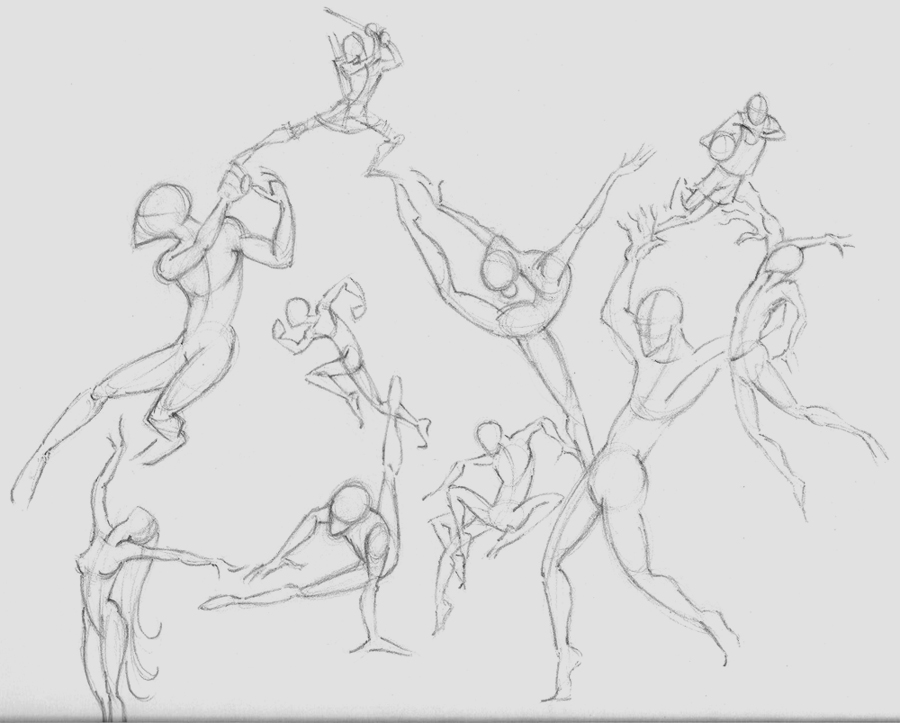
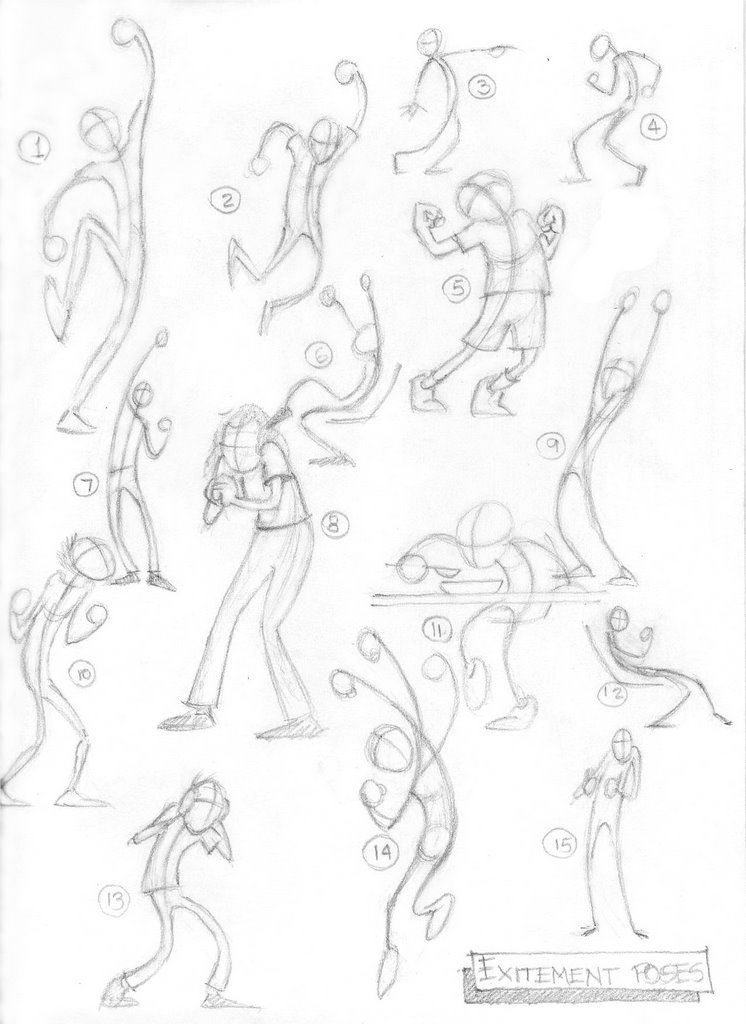
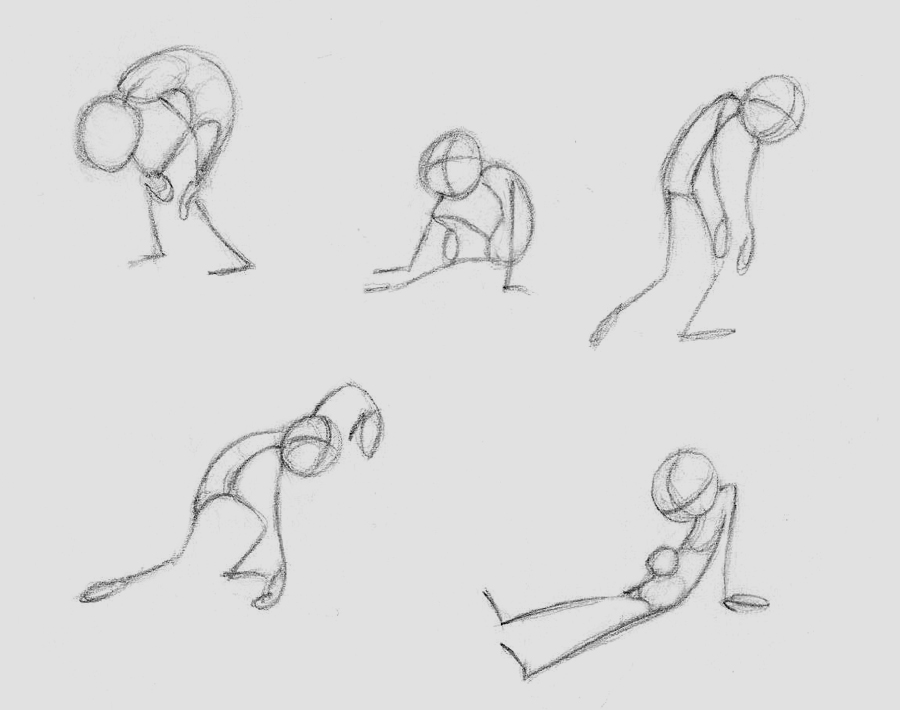
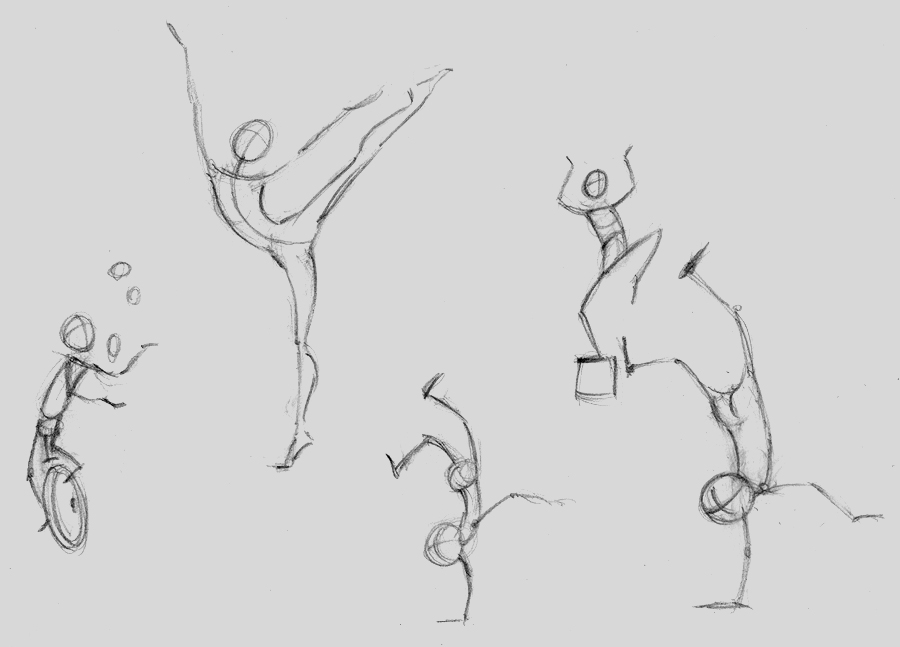
Here are some more sketches I did to be posed in 3D. I am not showing the 3D images since they are on the progress reel:
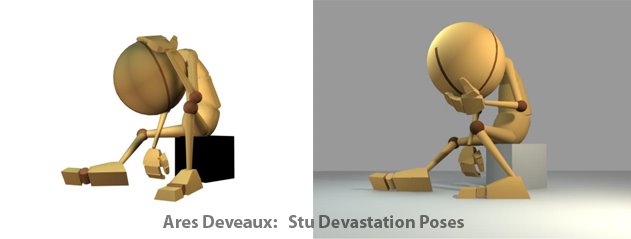
Concern sketches:


Strength sketches:


Exhausted sketches:


Balance sketches:


Ok... That was all!!!!... Done with the animation basics... Next we will be concentrating on body mechanics. I think is going to be a lot of fun!

Monday, May 22, 2006

Sketches and poses

While been busy animating, I still have manage to find time to sketch some poses from real life and photo reference. It is very important to analyze our environment and try to understand how thinks work and how they look. Is that database in our brain that will help us latter on our animations.
Also, going back to the roots, and drawing instead of just watching, awakes the artist inside us.
Here are some sketches and 3D poses of some of them:
Dynamic sketches:


excitement sketches:


excitement 3D poses:


Devastation 3D poses:

More advanced animation principles

Ok... I have been playing with timing, spacing, squash/stretch and anticipation, now is time for arcs and overlap. Things are starting to get a little more complex, and at last Im starting to put some character in to my animations. Here is the pendulum animation and the thought process behind it:


On this next one I had a lot of fun. Not just because I could add more character to the animation, but because is my first attempt to use the almighty "pose to pose" method of animation after I am a student at Animation Mentor, I used it on the one leg guy. I used the "layering" method on de body of the ball with tail and the "straight ahead" one on the tail itself:


Actually, all the principles have always to be taken in to account, but there are animations that are more focused on ones than the others.
The "pose to pose" method can be fun to animate when the keys are in stepped mode (keys that hold the position in Maya). The challenge is going from there to the spline. The animations tend to be too floaty and slow. I guess eventually I will get the hang of it, but right now I have to focus on getting better at that transition.

Continuing with the ball

I have been busy animating balls. Trying to understand the physics involved on it, and using the animation principles to be able to replicate reality. I need to feel the weight of the ball just by playing with timing and spacing. Here is an example of that (The planning shows the thought process behind those animations):


And taking that even further is this obstacle course. For the first time using, squash/stretch and anticipation:


On this animations I have been using the layering method, animating the different axis of rotation and translation as different elements.

Tuesday, April 18, 2006

The Bouncing Ball

I am working on this basic animation, trying to feel the weight as well as the timing and spacing of a bouncing ball. Just having fun.
Any other day I would have applied physics to the object and let the computer calculate it for me, but now I'm just focused on understanding how things work. What better way to do that than key-framing it.


This is the thought behind this animation:

Friday, April 14, 2006

First Stuff at Animation Mentor

Spring Classes at Animation Mentor Started already and I'm having a blast. We are starting with the basics wich is cool with me because I want to learn everything from the masters. My fellow students are as enthusiastic as I am about Character Animation and the entire community is very supporting. Here are the first thing I have made studying poses:


My Character Animation Year

Ok...

I Have called this year "my character animation year"!. I decided I was not going to wait any longer to follow my dreams, so as the first step I became a student at Animation Mentor. I'm also going to be active at The 10 Second Club.

I created this blog as a journal to report on this journey I just started, and decided to use English as the language because that is the one I have to use at Animation Mentor. I'm hoping to share this with them too.

My English is not too good so bare with me here.

Let the ride begin.